HOW TO MANAGE THE CURRENT IMAGES
Step 1: To change the homepage carousel first click on Gallery in the bottom left hand side of the admin menu.

Step 1
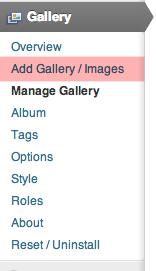
Step 2: From the menu that appears below, choose “Manage Gallery”

Step
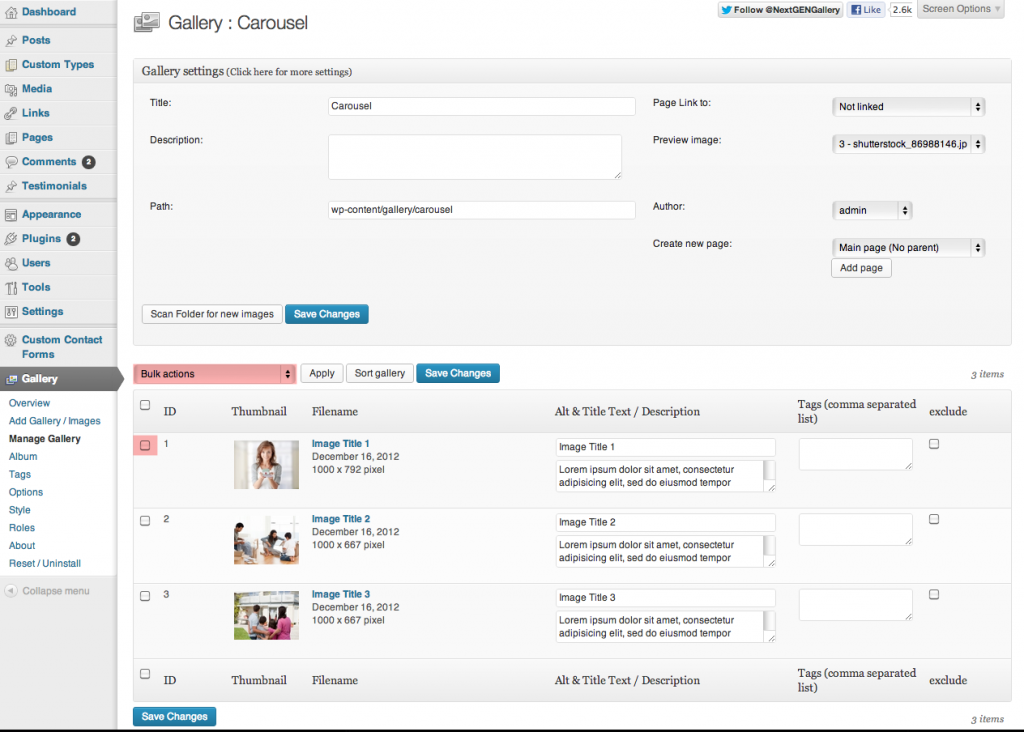
Step 3: From the next page, select Carousel and this will take you to the galleries management page.
Step 4: To delete any unwanted images, simply click the check box next to that image, and from the drop down box above, marked Bulk actions choose delete.
Hitting Apply will make the desired changes and to make sure your changes stay permanent, hit Save Changes on the bottom left. After hitting Save Changes your changes will be visible on the homepage.
Step 4
HOW TO ADD NEW IMAGES
Step 1: To add additional images to the carousel, choose Add Gallery/Images from the Gallery Menu
Step 1
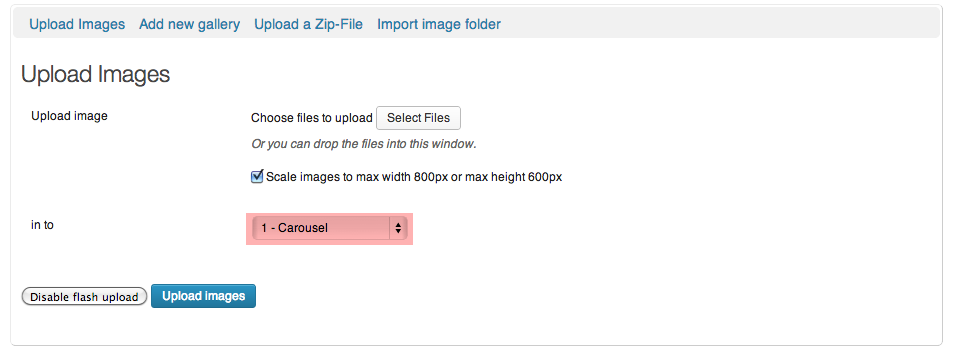
Step 2: To ensure that your new photos end up in the correct gallery, select Carousel from the drop down menu.
A module on the homepage snoops around for any images placed into the Carousel gallery. It takes all of these and creates the slideshow you see.
With this selected, Un-tick the box next to “Scale images to max width 800px or max height 600px” As this will prevent the images from filling all of the Carousels area for people using wider monitors.
Now you can select images to upload from your computer.
Step 2
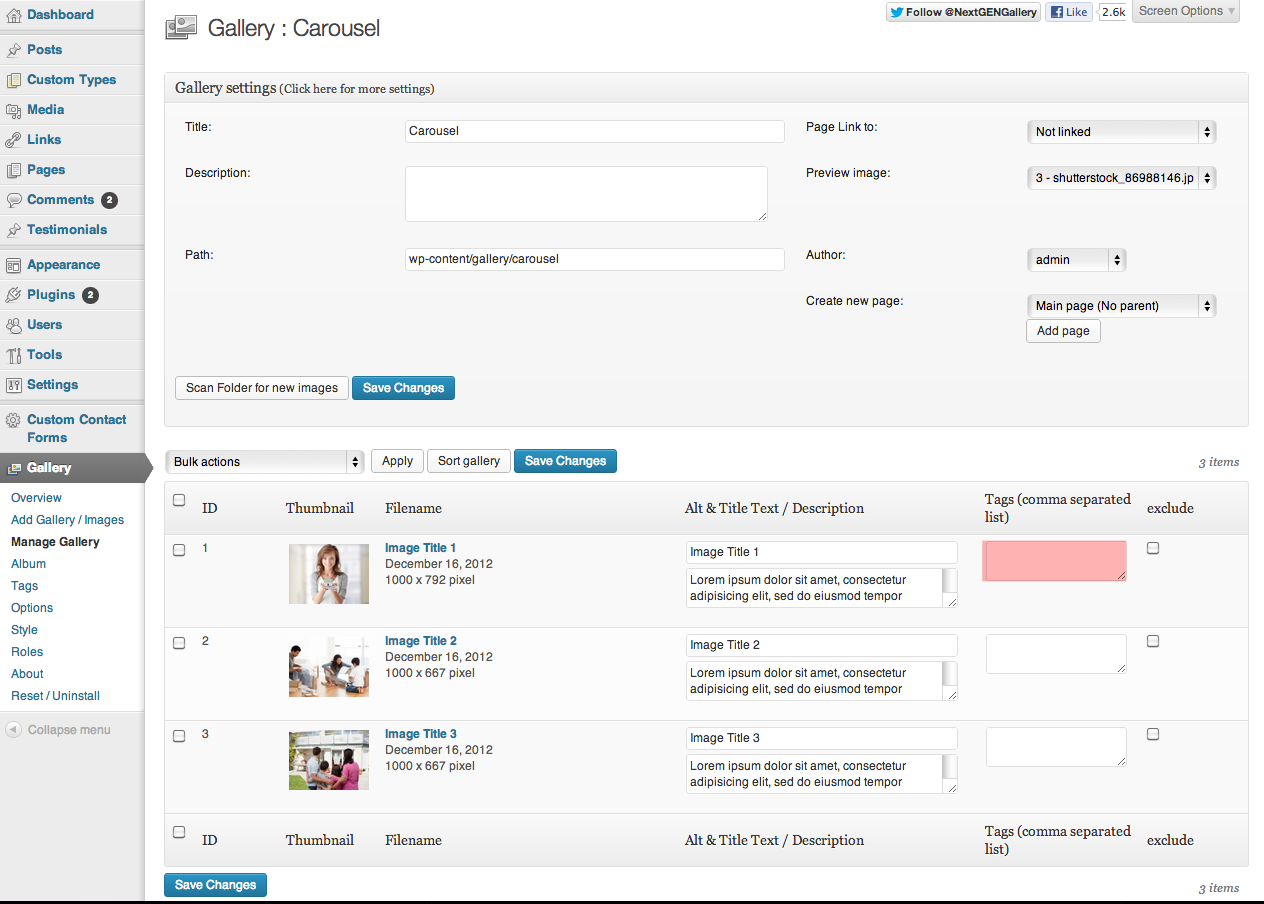
Step 3: To add text which appears above the image, you must fill in the Description box below. The Title box dictates what text is shown when a user hovers their mouse over the image, so it isn’t super important.

Step 3
META DATA
Meta Data is a scary sounding word that masks a very simple process. Basically, Images are ignored by search engines like Google as they contain no readable content. Using the Tags box next to each image, you can add some keywords that describe the image. It could be “Ruislip, Carpets, Pergo, Carpet Fitting, 20% of Carpets”.
By doing this, you’re essentially telling the website what the image is all about. The website can make sense of the image and as a result, when Google comes snooping to see what this website is all about it can get an extra bit of information. And this extra bit of information can place you higher in the search engines.
Meta Data